Inviting your team
Once your workspace exists, bring your team in rather than working alone against it.
Send an invitation
From the Users page, invite someone by name, email, and (optionally) the groups they should
belong to. This requires the manage_users permission — admins have it by default.
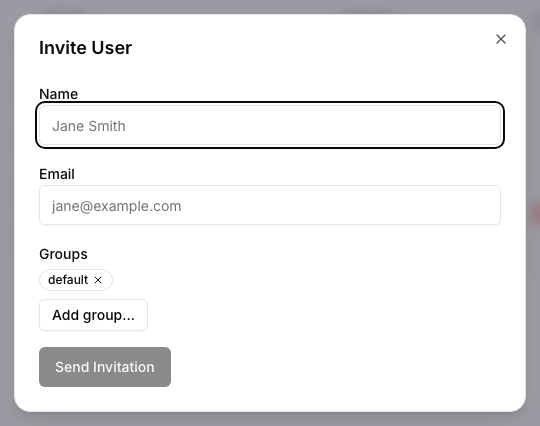
arcodash emails the invitee a link. The invitation itself doesn’t expire, so it’s safe to send one before someone’s ready to act on it.
What the invitee does
They open the link and either sign in or create an account, using the exact email address the invitation was sent to — no password is set inside arcodash itself. The available sign-in options are email + password, or Google. Once they’ve signed in with the matching email, they’re joined to your organization and the account is active. Before that, the account exists but is marked as a pending invitation and can’t be used to sign in.
Default access
An invitation can carry a set of groups, assigned when you send it. Groups are what control which connectors someone can query — a user with no groups (or only groups with no connectors attached) can sign in but won’t see anything to query yet.
[!TIP] Decide on groups before you send invitations in bulk — adding someone to the right group at invite time means they land in a workspace with data already, not an empty one they have to ask about.
See Groups and connector access for the full group and permissions model.